Finally, all the panels are finished. I just completed the last four hill panels.
Shown below are three setups made with the four hill panels.
 |
| Config 2x2 x0:y9 |
 |
| Config 2x2 x0:y7 |
 |
| Config 2x2 x0:y10 |
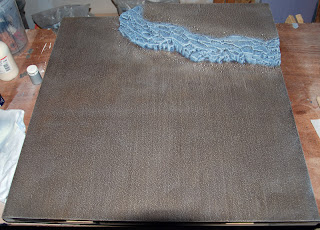
Let me take you through the process. I base-painted the whole panel with "Burnt Sienna" and added some extra sand and stones into the crevices of the hills. After dry-brushing the panel occording the established method discussed in a previous post I drybrushed the hill with the following citadel colors: "Shadow Grey", "Space Wolves Grey" and "Fotress Grey". Then I adding a couple of watered down Vallejo washes of "Umber Shade", "Fleshtone Shade" and "Green Shade" and gave it a satin varnish and finished it with a "Testors Dull Coat" varnish.
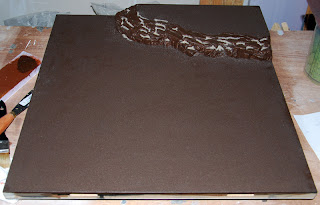 |
| Hill panel with extra sand on top |
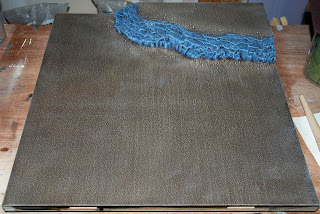
 |
| After dry-brushing the hill with "Shadow Grey" |
 |
| After dry-brushing the hill with "Space Wolves Grey" |
 |
| After dry-brushing the hill with "Fotress Grey" |
 |
| After applying the washes and varnish |
 |
| After adding the static grass |
So what's next I hear you say. Well, do you still remember this
post, when I talked about the utterly useless, but very cool looking border. I already did some tests and the theory seems to work. I'm currently still in the process of painting the borders, but as soon as they're finished I will show them in action and of course I will put some effort in demonstrating the full potential of the table. This means big setups, scenery and miniatures!


They really came out well. You have nice coverage with your sand and flock. My flock was deliberately patchy, but the sand I added seemed to patchy and in some cases looked like I had drizzled it on, ie left a trail of sand.
ReplyDelete